




Why does gel polish wrinkle, not cure or lift from the nail? Common mistakes and solutions
Gel polish wrinkles, does not cure or lifts from the nail usually not because the product itself is bad, but because a technical mistake appears somewhere in the manicure process. Gel polish manicure looks simple: base, colour, top, lamp and done. In reality, durability depends on many details: nail plate preparation, degreasing, cuticle work, layer thickness, UV LED lamp quality, curing time, product type and sealing the free edge of the nail.
The problem can appear in different ways. Sometimes gel polish wrinkles already inside the lamp. Sometimes the product is still soft, rubbery or movable after curing. Sometimes the styling looks good at first, but starts lifting after a few hours or days. In other cases, chips appear at the free edge, air appears near the cuticles or the colour layer lifts completely.
That is why problems with gel polish should always be analysed through the whole process, not only through the product. In the category nails – professional nail styling products, you can find devices and accessories for manicure, but even the best products need correct technique. A durable styling is always a combination of proper nail preparation, suitable tools, a reliable lamp and thin, even layers.
Why does gel polish wrinkle in the lamp?
Gel polish wrinkles in the lamp most often when the colour layer is too thick or the product is not cured correctly. The top part of the layer starts reacting to the light, but underneath the gel polish remains soft. The result can be wrinkles, waves, an uneven surface, a rubbery texture or an orange-peel effect.
The most common causes of wrinkled gel polish are:
- a colour layer that is too thick, especially with highly pigmented colours,
- a UV LED lamp that is too weak or has the wrong diode technology,
- curing time that is too short,
- an old or worn lamp that no longer works stably,
- incorrect hand position in the lamp,
- thumbs that are not properly illuminated,
- a product that is not compatible with the lamp,
- working too fast without checking each layer.
If gel polish wrinkles mainly with dark colours, red, black, white, burgundy or very intense pigments, the first suspect should be a layer that is too thick. These colours must be applied thinly and precisely. Two thin layers are better than one thick layer that cannot cure properly.
Gel polish does not cure – is the lamp the problem?
If gel polish does not cure, the lamp is one of the first things to check. Even a good base, colour or top coat will not work correctly if the lamp does not provide the right light, has poorly positioned diodes, is too weak or is not suitable for the products used during styling.
A good UV LED lamp for gel polish should work stably, have enough power, use Dual LED technology, include a practical timer, have well-positioned diodes and a tunnel that allows the hand to be placed correctly. For professional work, the category LED and UV lamps for nails is important, because lamp choice directly affects curing quality.
Signs that the lamp may be the problem include:
- the polish remains soft after curing,
- the top coat does not give stable shine,
- the colour wrinkles despite thin layers,
- the problem appears with products from different brands,
- thumbs cure worse than the other nails,
- the styling lifts in pieces after a short time,
- light colours work better than dark colours.
For intensive salon work, stronger models can be considered, such as the UV LED Nail Lamp 72W OCHO Nails X22 Wireless White, the UV LED Nail Lamp 72W Seashell Dual LED for Gel Polish and Builder Gel or the UV LED Nail Lamp 54W Glow X Dual LED for Gel Polish and Builder Gel.
Does more lamp power always solve the problem?
More power can help, but it does not solve every problem. If the gel polish layer is too thick, the nail plate is poorly prepared, the base has flooded the cuticles or the hand is placed incorrectly in the lamp, even a strong lamp will not save the styling. UV LED lamp power is important, but diodes, timer, tunnel, hand position and application technique are just as important.
When choosing a lamp, check:
- whether it uses Dual LED technology,
- whether the diodes are evenly distributed,
- whether thumbs are well illuminated,
- whether the lamp has several timer modes,
- whether it has a motion sensor,
- whether the tunnel allows correct hand placement,
- whether the model is suitable for gel polish, gel and builder base.
The UV LED Lamp OCHO Nails X13 65W White with Mirrored Bottom can be a good direction when you need a stronger device and better light distribution. Still, the lamp is only one part of the whole manicure process.
A colour layer that is too thick
One of the most common reasons why gel polish wrinkles is a layer that is too thick. This problem appears especially with highly pigmented colours. Black, white, navy, burgundy, intense red, neon shades and very opaque colours require extra control during application.
A layer that is too thick can cause:
- wrinkling in the lamp,
- soft product underneath the surface,
- wavy colour,
- lower manicure durability,
- lifting in pieces,
- curing problems at the nail sides,
- an uneven surface after top coat.
The solution is simple, but it requires discipline: apply colour thinly. The first layer may look semi-transparent. That is normal. A second thin layer gives coverage without blocking the curing process. Gel polish manicure is not about flooding the nail with product. It is about precise work with thin layers.
Gel polish lifts from the nail – the problem starts before the colour
If gel polish lifts from the nail, the problem often begins before the colour is applied. Natural nail plate preparation is crucial. If the nail is greasy, dusty, moist, not properly matted or if invisible cuticle residue remains on the nail plate, the base cannot bond correctly.
Common causes of gel polish lifting are:
- cuticles not prepared accurately,
- skin residue left on the nail plate,
- insufficient degreasing,
- dust left on the nail after filing,
- base, colour or top coat touching the cuticles,
- free edge not sealed,
- wrong base for the nail plate type,
- contact with water, oil or cream shortly before application.
In professional work, precise nail preparation is essential. That is why good tools and categories such as nail drills and bits matter. Well-prepared cuticles and a clean nail plate are the foundation of long-lasting gel polish styling.
Product on the cuticles – small mistake, big problem
Gel polish on the cuticles is one of the fastest ways to shorten manicure durability. Product that touches the skin does not have a stable bond with the nail plate. After curing, it creates a point where air can get underneath and where the styling can start lifting.
Product on the cuticles can cause:
- lifting near the cuticle area,
- air pockets under the styling,
- hair catching under the product,
- faster chips,
- a messy line near the cuticles,
- higher risk of skin irritation.
The solution is precision. It is better to leave a minimal distance from the cuticle than to place product on the skin. If the product touches the skin before curing, it must be removed before the hand goes into the lamp. After curing, it is too late because the mistake is locked into the styling.
Free edge not sealed
When gel polish chips from the tips, the cause is often a free edge that was not sealed properly. The tip of the nail receives the most stress: impact, water, cleaning, typing, opening packages and everyday hand movements.
The free edge should be sealed with:
- base coat,
- colour,
- top coat,
- without creating a thick edge,
- without leaving the natural nail tip open.
An open free edge acts like an entry point under the styling. Water, air and micro-damage weaken the bond faster. This is especially important on short nails, where the free edge is harder to cover precisely.
Incorrect nail plate preparation
Gel polish durability begins with the nail plate. If the nail is not prepared correctly, even a good lamp and good polish will not give a long-lasting result. Nail plate preparation for gel polish should be accurate, but not aggressive. The natural nail does not need to be damaged. It needs to be clean, dry and ready to bond with the base.
Basic nail preparation mistakes include:
- cuticles prepared too superficially,
- skin residue left on the nail,
- filing the natural nail too aggressively,
- not removing all dust,
- touching the nails after degreasing,
- applying base to a moist or greasy nail,
- using cream, oil or water immediately before styling.
A properly prepared nail plate should be clean, dry, lightly matted and free of dust. With problematic, greasy, thin, flexible or damaged nails, base selection and technique must be even more precise.
Wrong base coat choice
A gel polish base coat is not one universal product for every nail plate. It behaves differently on hard nails than on thin, flexible, damaged, moist or problematic nails. If the base does not match the nail type, the styling can lift even when the colour is cured correctly.
Base problems can appear as:
- gel polish lifting in full pieces,
- air appearing from the cuticle area,
- tips chipping after a few days,
- base being too hard for a flexible nail,
- base being too soft for longer nails,
- poor adhesion despite correct nail preparation.
With problematic nails, do not only check the colour and lamp. Check the base as well. Thin and flexible nails need a different approach from hard and stable nails. The styling should move with the natural nail, not work against it.
Why does gel polish lift after a few days?
If gel polish lifts after a few days, the cause is usually weak adhesion to the nail plate or mechanical overload of the styling. The problem may come from poor preparation, product on the cuticles, wrong base, an unsealed free edge, but also from the client’s daily habits.
Gel polish may lift faster when the client:
- works in water often without gloves,
- uses strong cleaning products,
- opens things with the nails,
- has a very flexible nail plate,
- picks, bites or pulls at the styling,
- uses a lot of oil or cream shortly before the appointment,
- has weakened nails from incorrect removal of previous styling.
In the salon, it is worth talking to the client about daily hand use. Sometimes the styling is technically correct, but the client’s lifestyle requires a stronger base, shorter length, better sealing of the free edge or clearer aftercare advice.
Thumbs cure worse than the other nails
Thumbs are a common problem in gel polish manicure. If the hand is placed flat inside the lamp, the thumb often sits at a different angle and receives less light than the other nails. The result may be weaker curing, wrinkled colour, soft product or chips on the thumbs.
The solutions are simple:
- cure thumbs separately if the lamp does not illuminate them well,
- check hand position inside the tunnel,
- do not let the client rotate the hand in the lamp,
- apply extra thin layers on thumbs,
- use a lamp with good diode distribution.
This seems like a small detail, but in practice it can decide the durability of the whole manicure. If all nails last well except the thumbs, first check hand position and lamp performance.
Top coat becomes dull, sticky or does not shine
A top coat problem is often confused with a problem of the entire styling. If the top coat does not shine, becomes dull, shows streaks or remains sticky, the cause may be curing time that is too short, a layer that is too thick, a weak lamp, the wrong top coat or touching the surface too quickly after curing.
With top coat, remember these rules:
- apply an even layer that is not too thick,
- cure according to the product instructions,
- do not remove the hand from the lamp too early,
- do not touch the surface immediately after curing,
- check whether top, base and colour are compatible,
- check lamp quality.
If the issue appears on all stylings, check the lamp and curing time. If it appears only with certain products, the cause may be product compatibility or a layer that is too thick.
Gel polish manicure at home versus in the salon
At home, problems often come from lack of experience, layers that are too thick, a weaker lamp, insufficient nail plate preparation or skipping steps. In the salon, problems more often come from rushing, routine, a worn lamp, working with several product systems or a base that does not match the client’s nail plate.
For home use, the most important points are:
- a simple and stable lamp,
- thin polish layers,
- proper degreasing,
- not applying product on the cuticles,
- curing each layer patiently,
- safe removal of the styling.
For salon work, the most important points are:
- a stronger UV LED lamp,
- professional nail preparation,
- base selection according to nail type,
- a good nail drill and suitable bits,
- control over curing time,
- a repeatable working procedure.
Beginners can also check a basic kit such as the OCHO NAILS hybrid starter kit 1. A starter kit can help organise the basic elements, but technique still determines the final result.
How to find where the mistake is
If gel polish manicure keeps causing problems, analyse the styling step by step. It is not a good idea to change everything at once. First check whether the problem is connected to the lamp, product, application, nail plate or the client’s behaviour after the treatment.
Practical checklist:
- Does the problem appear with all colours or only with dark colours?
- Does the polish wrinkle immediately in the lamp?
- Is the product soft after curing?
- Does the problem mainly affect thumbs?
- Does the gel polish lift near the cuticles or from the tips?
- Was the nail plate prepared and degreased correctly?
- Did any product touch the cuticles?
- Was the free edge sealed?
- Does the lamp have enough power and working diodes?
- Did the client pull off the previous styling?
This approach helps narrow down the cause quickly. Wrinkled colour often points to layer thickness or the lamp. Lifting near the cuticles points to preparation or product on the skin. Chipping at the free edge often means the edge was not sealed or the nails are heavily used in daily life.
Common mistakes in gel polish manicure
The most common gel polish mistakes appear again and again. In many cases, it is not one major error, but several small inaccuracies that together reduce manicure durability.
- colour layer that is too thick,
- curing time that is too short,
- lamp that is too weak or worn,
- insufficient nail plate preparation,
- dust left on the nail after filing,
- touching nails after degreasing,
- product on the cuticles,
- free edge not sealed,
- wrong base coat choice,
- mixing products without checking compatibility,
- working too fast,
- incorrect removal of previous styling.
A professional nail stylist should treat gel polish manicure as a technical procedure. Every step matters. If one element is skipped, the whole styling can lose durability.
How to improve gel polish durability
To make gel polish last longer, you need good technique, a suitable lamp and correct nail plate preparation. There is no magic product that fixes all mistakes. Durability comes from repeatable, precise work.
Key rules:
- prepare the cuticles accurately,
- remove skin residue from the nail plate,
- prepare the nail surface gently,
- remove all dust,
- degrease the nail plate before base,
- do not touch the nail again after degreasing,
- choose the base according to the nail type,
- apply thin colour layers,
- cure every layer long enough,
- seal the free edge,
- check the condition of the lamp,
- do not apply product on the cuticles.
The workstation also matters. Lamp, nail drill, bits, files, prep products and styling products should be chosen so the work is clean, precise and repeatable. In professional manicure, chance should not decide how long the styling lasts.
Which products and categories are worth checking?
If the problem is curing, first check the lamp. If the styling lifts, analyse nail preparation, nail drill, bits, base and application technique. For beginners or salons building a basic workstation, a starter kit can also be useful.
- Nails – professional nail products – main category for a complete manicure workstation.
- LED and UV lamps for nails – category for lamps for gel polish, gel and light-cured products.
- UV LED Nail Lamp 72W OCHO Nails X22 Wireless White – strong model for salon work and mobile use.
- UV LED Nail Lamp 72W Seashell Dual LED for Gel Polish and Builder Gel – solution for gel polish, gel and professional styling.
- UV LED Nail Lamp 54W Glow X Dual LED for Gel Polish and Builder Gel – model for gel polish and builder base.
- Nail drills and bits – category for nail preparation, cuticles and professional work.
- OCHO NAILS hybrid starter kit 1 – option for building a basic gel polish set.
Why does gel polish wrinkle, not cure or lift – key conclusion
Why does gel polish wrinkle? Most often because the colour layer is too thick, the lamp is too weak, curing time is too short or the hand is positioned incorrectly in the lamp. Dark and highly pigmented colours should be applied especially thinly.
Why does gel polish not cure? The cause may be a weak or worn lamp, curing time that is too short, wrong light technology, a product layer that is too thick or a product that does not match the lamp. Check not only wattage, but also diode distribution and hand position.
Why does gel polish lift from the nail? Most often because of insufficient nail plate preparation, dust, grease, product on the cuticles, wrong base or an unsealed free edge. If the styling lifts in pieces, the problem usually starts with adhesion to the natural nail.
How can you prevent gel polish from wrinkling?
Apply very thin layers, especially with dark colours. Cure each layer long enough and check whether the UV LED lamp works correctly and illuminates the whole hand.
What should you do if gel polish lifts after a few days?
Check nail preparation, cuticles, degreasing, base, free edge and the client’s daily habits. If the problem appears in many stylings, also check the lamp and products.
Can a weak lamp cause gel polish to lift?
Yes. If the product does not cure correctly, the styling becomes less stable, softer, more vulnerable and can lift faster. The UV LED lamp is one of the key elements of durable manicure.
Can wrinkled gel polish be saved?
Usually it is not a good idea to cover a wrinkled layer with another layer. If the product is not cured correctly, remove the problematic layer and apply again in thin layers.
What is more important: a good lamp or a good base?
Both are important. The lamp is responsible for correct curing, while the base is responsible for adhesion to the nail plate. Durable gel polish requires a good lamp, suitable base, clean nail plate and correct application technique.
Related Posts
Aftercare after keratin, hair botox and nanoplasty should not always look the same, because each treatment works on the hair in a different way. Nanoplasty focuses mainly on strong smoothing and straightening, keratin and protein treatments support hair structure and smoothness, while hair botox is mainly about repair, softness, shine and reducing frizz.
In this guide, we explain how to care for hair after salon treatments, which shampoo and mask to choose, what to avoid after nanoplasty, keratin and hair botox, how to wash the hair, how to dry it and which mistakes can shorten the effect of the treatment. A good home routine should support the salon result instead of weakening it.

A cosmetic chair is one of the most important pieces of equipment in a beauty room. It affects client comfort, specialist ergonomics, interior appearance, treatment speed and the professional impression of the whole salon. A well-chosen chair makes facial treatments, lashes, brows, permanent make-up, massage, pedicure, podiatry and many other beauty services easier to perform.
In this guide, we explain how to choose a cosmetic chair for a beauty room: when a manual model is enough, when a hydraulic chair works better and when investing in an electric cosmetic chair makes sense. We cover adjustment, number of motors, upholstery, stability, armrests, footrests, dimensions, cleaning, workstation ergonomics and the most common mistakes when buying a treatment chair.
Head Spa in a hair salon is a service that combines scalp care, washing, massage, relaxation and a professional beauty ritual. For the client, it is a premium experience. For the salon, it is a chance to increase the value of each visit, improve client retention and stand out from ordinary hair washing services.
In this guide, we explain how to build a Head Spa service: what type of workstation you need, how to choose a Head Spa wash unit or wash bed, which cosmetics to use, how to plan the treatment protocol, how to create packages and what mistakes to avoid when introducing Head Spa into a hair salon or beauty salon.
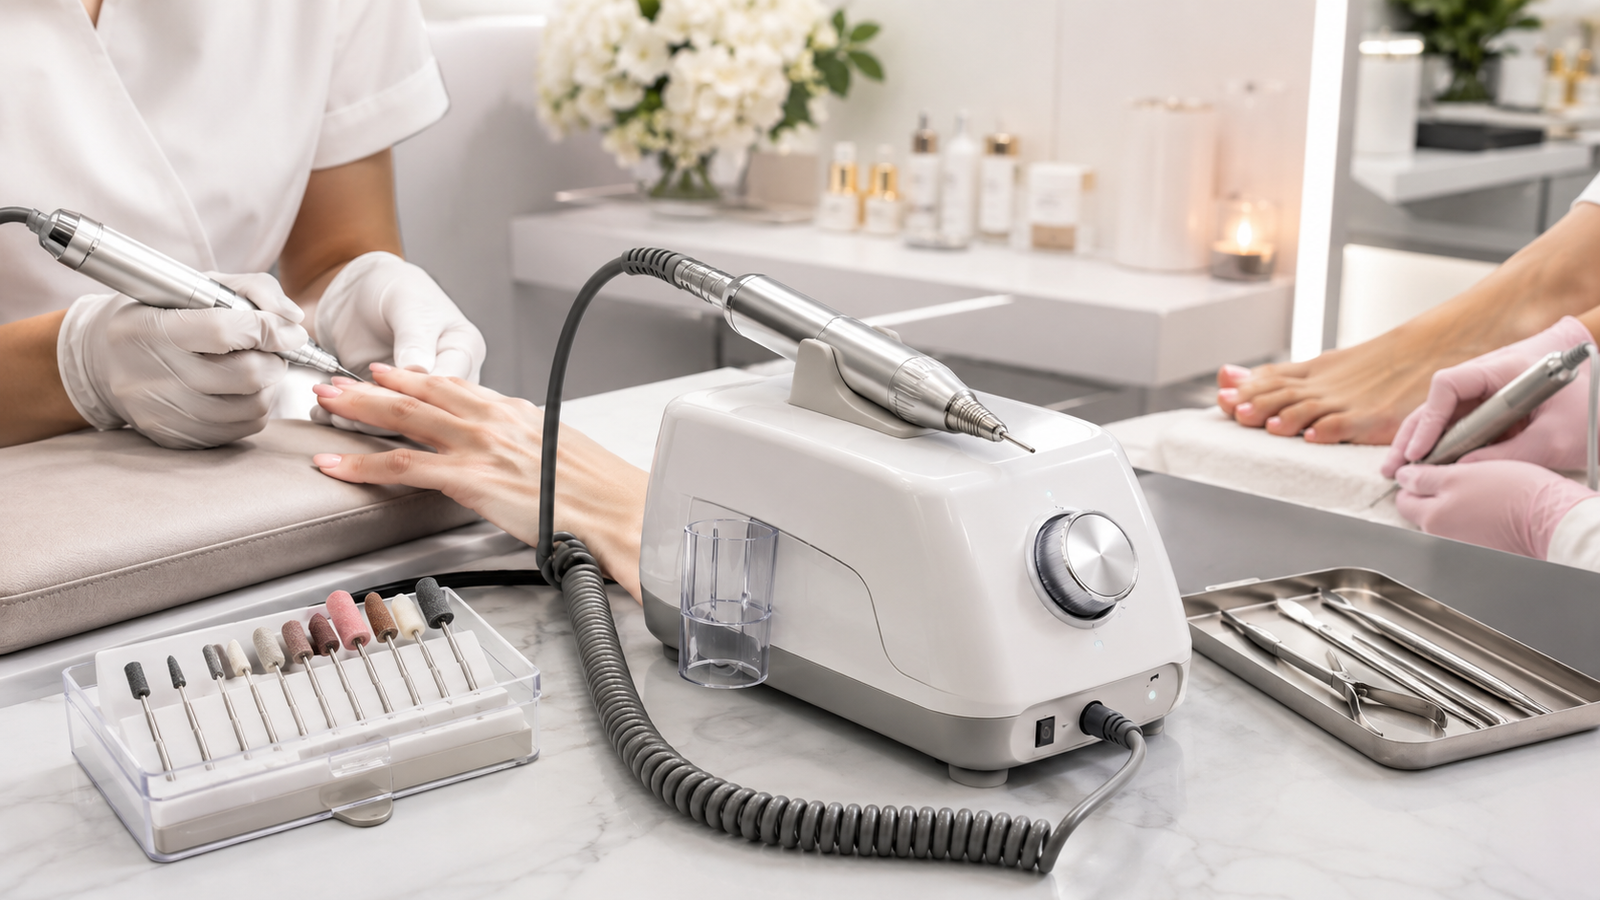
A nail drill machine is one of the most important devices in manicure, pedicure and professional salon work. It helps prepare cuticles, remove gel polish or gel, smooth the surface, prepare the nail plate and speed up many stages of nail styling. A good nail drill increases precision, shortens working time and improves the comfort of the nail stylist, but only when the model matches real use.
In this guide, we explain how to choose a nail drill machine for home use, beauty salon, manicure, pedicure and podiatry. We look at speed, power, torque, handpiece, vibrations, bit changing system, cordless work, nail drill bits, ergonomics and safety. This helps you choose a device that is not a random purchase, but a real working tool.
How to set up a beauty salon from scratch so that it is functional, aesthetic, comfortable for the client and practical in daily work? Good beauty salon equipment is not only a chair and a lamp, but a complete system: cosmetic furniture, treatment devices, stools, trolleys, lamps, tools, accessories, nail products, pedicure equipment, workstation organisation, hygiene and a logical room layout.
In this guide, we explain how to plan beauty salon equipment step by step: from choosing services, treatment chairs, lighting and beauty devices to manicure, pedicure, podiatry and a practical starter checklist. This helps avoid random purchases and build a salon that looks professional and truly supports daily work.

A hairdressing wash unit is one of the most important elements of salon equipment, because it affects client comfort, the ergonomics of the hairdresser’s work, the organisation of the washing area and the professional appearance of the entire interior. Many services start or end at the wash unit: hair washing, toner rinsing, colouring, hair repair, botox, keratin, nanoplasty and after-treatment care.
In this guide, we explain how to choose a hairdressing wash unit for your salon, what to check before buying, how a fixed wash unit differs from a portable solution, when a barber wash unit is worth considering and how to evaluate the basin, chair, neck support, drainage, installation, style and working comfort. This makes it easier to choose a model for a hair salon, barbershop, beauty studio or smaller treatment room.

A UV LED nail lamp is one of the most important devices in manicure and nail styling, because it affects work comfort, service speed, even curing and the durability of gel polish, gel, builder gel and other light-cured products. The choice of a lamp should not depend only on wattage, but also on LED technology, light distribution, timer, motion sensor, low heat mode, tunnel shape, mirrored base and build quality.
In this guide, you will learn how to choose a UV LED nail lamp for home use, mobile nail styling and professional salon work. You will discover when a 48–54W lamp may be enough, when 65–72W is a better choice, what the difference is between a wired and cordless nail lamp, why the sensor and timer matter, and how to choose a lamp for gel polish, gel nails, pedicure and daily work with clients.

Which hair treatment should you choose when the hair is dry, frizzy, damaged, blonde, curly, fine or hard to style? Nanoplasty, hair botox, keratin, protein and hair lamination can all improve the appearance of the hair, but each treatment has a different purpose, different intensity and different role in professional salon work.
In this guide, we compare the most important professional hair treatments by desired effect: straightening, smoothing, repair, anti-frizz control, reconstruction, shine, volume control and care for blonde or curly hair. This helps you choose based on what the hair really needs, not only on a popular treatment name.

Nanoplasty or keratin straightening is one of the most common questions from clients who want smoother, shinier, less frizzy and easier-to-style hair after every wash. Both treatments can create a beautiful smooth finish, but they differ in straightening power, treatment character, suitability for each hair type and the final result that can realistically be expected.
In this guide, you will learn when to choose nanoplasty, when keratin hair straightening is the better option and when protein straightening or a repairing treatment should be considered first. You will discover which treatment is suitable for thick, wavy, frizzy, blonde, bleached, dry, damaged, curly and fine hair.

Hair botox treatment is a professional repairing and smoothing service designed to improve the look and feel of dry, frizzy, dull, weakened, bleached or hard-to-manage hair. Unlike nanoplasty, its main goal is not maximum straightening, but repair, hydration, softness, shine and frizz reduction.
In this guide, you will learn what botox for hair is, when to choose this treatment, how it differs from nanoplasty and keratin straightening, which type of hair botox is best for blonde, curly, dry or heavily damaged hair, and how to care for the hair after the treatment to maintain softness, elasticity, shine and a healthy-looking finish for as long as possible.